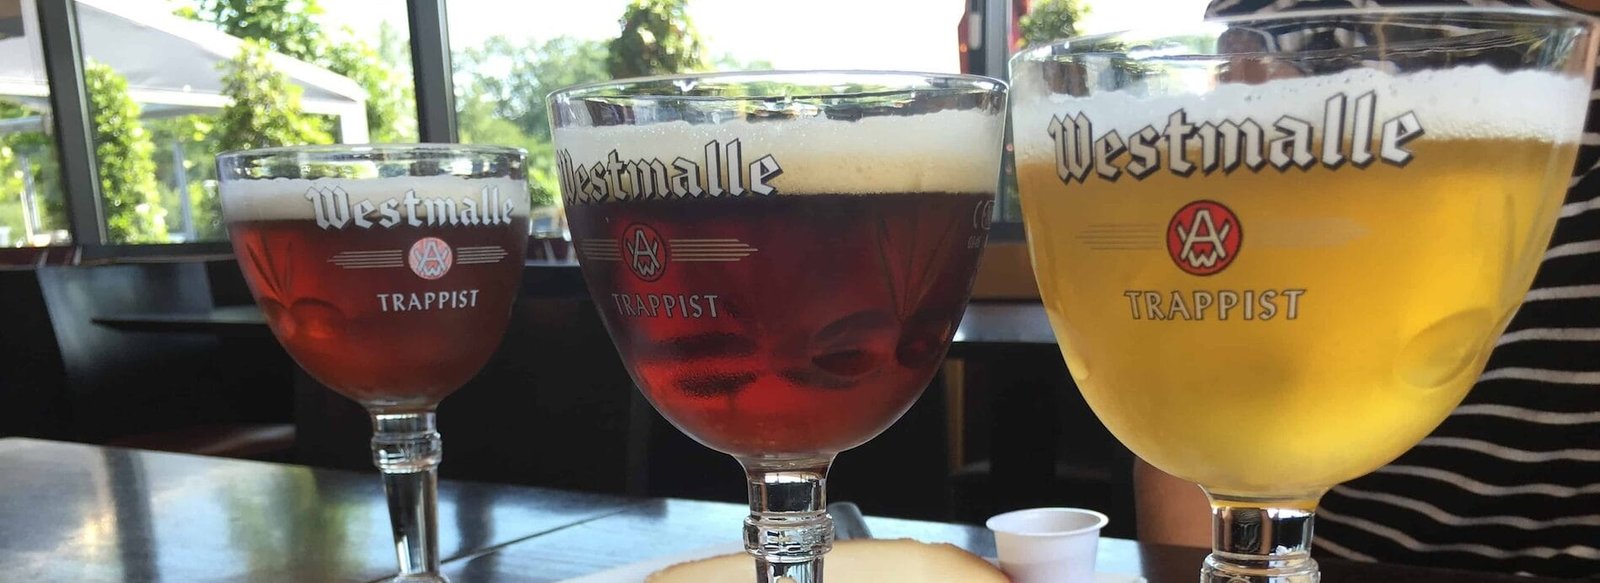
Lambic brewing is a fascinating and intricate process that allows beer enthusiasts to explore the depths of fermentation and flavor. One of the most distinctive aspects of lambic production is the use of a coolship, a shallow vessel designed to cool wort and encourage spontaneous fermentation. For home brewers interested in crafting their own lambic-style beers, building a coolship is an exciting project that can enhance the brewing experience and yield unique results. This article will guide you through the process of constructing your own coolship, from design considerations to materials and maintenance.
Understanding the Coolship
Before diving into the construction process, it’s essential to understand the purpose and function of a coolship. Traditionally, coolships are used in lambic brewing to cool the wort after boiling. The shallow design allows for a larger surface area, promoting rapid cooling and facilitating exposure to wild yeast and bacteria present in the environment. This exposure is crucial for spontaneous fermentation, which is a hallmark of lambic beers.
Design Considerations
When designing your coolship, several factors come into play:
1. Size and Shape: The dimensions of your coolship will depend on the volume of wort you plan to cool. A typical homebrewer’s coolship might range from 5 to 20 gallons. The shape should be shallow and wide, allowing for maximum surface area. A depth of 4 to 6 inches is ideal.
2. Material: The material used for your coolship is critical. Traditional coolships are often made of copper or stainless steel, both of which have excellent thermal conductivity. Stainless steel is more accessible for home brewers and is resistant to corrosion. Avoid using plastic, as it can retain flavors and aromas that may interfere with the fermentation process.
3. Location: The placement of your coolship is vital for successful spontaneous fermentation. Ideally, it should be located in an area with good airflow and exposure to wild yeast. Many brewers opt for an outdoor setting, especially during the cooler months, to take advantage of the natural environment.
4. Covering: While you want to expose the wort to wild yeast, it’s also essential to protect it from unwanted contaminants. Consider a cover that allows airflow while keeping out debris and insects. A fine mesh screen or breathable fabric can work well.
Materials Needed
To build your coolship, you’ll need the following materials:
– Stainless Steel Sheet: For the base of the coolship. Ensure it’s food-grade and of sufficient thickness to prevent warping.
– Welding Equipment: If you’re comfortable with welding, you can create a seamless design. If not, consider using food-safe silicone sealant for joints.
– Wooden Frame: To support the coolship and elevate it off the ground for better airflow. This can be constructed from untreated wood.
– Thermometer: To monitor the temperature of the wort during cooling.
– Covering Material: As mentioned, a fine mesh screen or breathable fabric.
Step-by-Step Construction
1. Cut the Stainless Steel: Begin by cutting the stainless steel sheet to your desired dimensions. Remember to account for the depth and width to ensure adequate surface area.
2. Form the Coolship: If you’re welding, create a shallow box shape with the stainless steel. Ensure the corners are well-sealed to prevent leaks. If using silicone, apply it liberally to all joints and corners.
3. Create a Support Frame: Construct a wooden frame to hold the coolship. Ensure it’s sturdy enough to support the weight of the wort. Elevate the coolship to allow for airflow underneath.
4. Install the Thermometer: Place a thermometer in an accessible location to monitor the wort temperature. This will help you determine when the wort has cooled sufficiently for fermentation.
5. Add the Cover: Once the coolship is assembled, add your covering material. Ensure it allows for airflow while keeping contaminants at bay.
6. Sanitize: Before using your coolship for the first time, thoroughly clean and sanitize all surfaces to eliminate any unwanted bacteria or yeast.
Using Your Coolship
Once your coolship is built and sanitized, it’s time to put it to use. Here’s a basic overview of the process:
1. Brew Your Wort: Start by brewing a base wort. This typically involves boiling malted barley, hops, and water. Aim for a wort that is rich in sugars, as this will provide the necessary nutrients for fermentation.
2. Transfer to the Coolship: After boiling, carefully transfer the hot wort into your coolship. The shallow design will help it cool rapidly.
3. Cooling Process: Allow the wort to cool naturally. This process can take several hours, depending on the ambient temperature. Monitor the temperature with your thermometer.
4. Spontaneous Fermentation: Once the wort has cooled to around 65-75°F (18-24°C), it’s time to let nature take its course. The exposure to wild yeast and bacteria will initiate fermentation. Cover the coolship with your breathable material to protect it from debris.
5. Fermentation Vessel: After a day or two, transfer the cooled wort into a fermentation vessel, such as a carboy or barrel, where it can continue to ferment. Depending on your recipe, you may add additional ingredients at this stage.
6. Patience: Lambic brewing is not a quick process. The fermentation can take several months to years, depending on the desired flavor profile. During this time, the beer will develop complex flavors through the interaction of yeast and bacteria.
Maintenance and Care
Maintaining your coolship is crucial for consistent results. Here are some tips:
– Cleaning: After each use, clean your coolship thoroughly to prevent contamination. Use hot water and a gentle scrub to remove any residues. Avoid harsh chemicals that could leave behind unwanted flavors.
– Storage: If you’re not using the coolship regularly, store it in a clean, dry place to prevent rust or contamination.
– Monitoring: Regularly check the condition of your coolship, especially the seals and joints. Ensure that there are no leaks or signs of wear.
Experimentation and Flavor Development
One of the most enjoyable aspects of lambic brewing is the opportunity for experimentation. As you become more comfortable with your coolship, consider trying different ingredients, such as fruit or spices, to create unique flavor profiles. The spontaneous fermentation process will yield a wide array of flavors, allowing you to craft a beer that reflects your personal taste.
Building Your Own Coolship for Home Lambic Brewing
Building your own coolship for home lambic brewing is a rewarding endeavor that opens the door to a world of spontaneous fermentation and complex flavors. With careful planning, attention to detail, and a spirit of experimentation, you can create a unique brewing experience that honors the traditional methods of lambic production. As you embark on this journey, remember that patience is key—great things take time, and the rewards of your efforts will be well worth the wait. Happy brewing!